Why You Should Scan Container Images Before Deployment (And How to Do It)
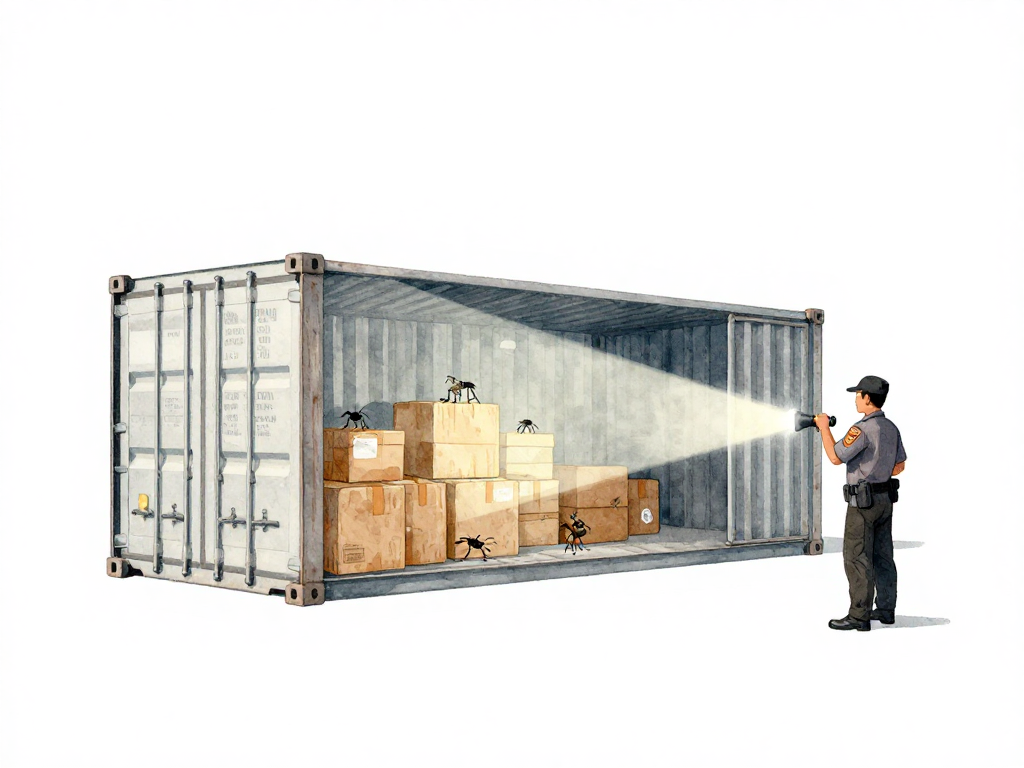
You just built a new container image. The build passed, the tests are green, and the image is sitting in your registry. It feels ready to go to production. But there is a problem you cannot see: the image might contain known security vulnerabilities that could let an attacker take over your server.
Container images are not sealed boxes. Every image is built from layers: a base image pulled from the internet, system libraries, language runtimes, and your own application code. Each layer can carry vulnerabilities. A base image that was safe last week might have a critical CVE discovered yesterday. A library you added three months ago might have a newly reported flaw. These issues do not announce themselves. You have to check.
What Is a Vulnerability Scan?
A vulnerability scan is an automated process that opens your container image, inspects every package and library inside it, and compares them against a database of known vulnerabilities. These vulnerabilities are tracked as CVEs (Common Vulnerabilities and Exposures). Each CVE has a severity rating: low, medium, high, or critical.
A critical vulnerability might allow remote code execution. An attacker could take control of your server without authentication. A high-severity issue might let someone read files they should not have access to. Medium and low issues are harder to exploit, but they still add risk, especially when combined with other weaknesses.
The scan produces a report: which packages are affected, how severe the problem is, and which fixed version you should upgrade to.
Why You Cannot Scan Once and Forget
Vulnerability databases update every day. New CVEs are published constantly. A base image that passed your scan last month might now have a critical flaw. A library you pinned to a specific version might have a newly discovered vulnerability that was not there when you first chose it.
This is why scanning must happen every time you build an image. Not just on the first build. Not just when you remember. Every build. The scan should be part of your pipeline, automated and enforced.
Where to Place the Scan in Your Pipeline
The scan sits between the build step and the promotion step. The typical flow looks like this:
The following flowchart visualizes this decision process:
Here is a practical example using Trivy in a GitHub Actions workflow that scans the image and fails the pipeline on any critical vulnerability:
scan-image:
  runs-on: ubuntu-latest
  steps:
    - name: Pull image from registry
      run: docker pull my-registry/my-app:${{ github.sha }}

    - name: Run Trivy vulnerability scan
      uses: aquasecurity/trivy-action@master
      with:
        image-ref: my-registry/my-app:${{ github.sha }}
        format: table
        exit-code: 1
        severity: CRITICAL
The exit-code: 1 tells Trivy to return a non-zero exit code when vulnerabilities are found, which stops the pipeline. The severity: CRITICAL sets the policy threshold: only critical findings cause a failure. Adjust the severity to CRITICAL,HIGH if you want to block on both.
- Build the image
- Push the image to a registry
- Run the vulnerability scan
- Evaluate the results against your policy
- If the scan passes, promote the image to the next environment
- If the scan fails, stop the pipeline and fix the image
The scan should run after the image is built but before it reaches staging or production. This way, vulnerable images never leave the registry.
Setting a Scan Policy
A scan policy defines what happens when vulnerabilities are found. You decide the thresholds. For a public-facing application, you might block the pipeline on any critical or high-severity finding. For an internal tool, you might block only critical issues and log high-severity ones for the next sprint.
The key is consistency. Do not decide per deployment. Define the policy once, write it into your pipeline configuration, and let it run automatically. If the policy blocks a deployment, that is a signal to fix the image, not to override the policy.
Tools You Can Use
Several tools can scan container images. They all work similarly: they inspect the image layers, identify packages, and cross-reference them with CVE databases.
- Trivy - Open source, fast, widely used. Works well in CI pipelines.
- Snyk - Commercial with a free tier. Integrates with many registries and CI systems.
- Grype - Open source from Anchore. Often paired with Syft for SBOM generation.
- Clair - Open source, originally from CoreOS. Used by many registry services.
- Registry built-in scanners - Docker Hub, Amazon ECR, and Google Artifact Registry offer automatic scanning for images stored in their registries.
Choose one that fits your workflow. Most of them run as a single command in your pipeline.
What to Do When a Scan Fails
When the pipeline stops because of a vulnerability, do not ignore it. The fix usually falls into one of these categories:
Update the base image. This is the most common fix. Base images like Alpine, Ubuntu, or distroless images release updated versions regularly. Switch to the latest patched version and rebuild.
Update application dependencies. If the vulnerability is in a library your code uses, update the dependency in your source code and rebuild the image.
Remove unused tools. Sometimes vulnerabilities come from tools left inside the image by accident: debuggers, compilers, package managers. These are not needed at runtime. Multi-stage builds solve this problem by keeping only the final runtime artifacts in the production image.
After fixing, rebuild the image and run the scan again. Repeat until the image passes.
What Vulnerability Scanning Is Not
Scanning is not a replacement for other security practices. It does not cover penetration testing, access control, network security, or runtime monitoring. But it is a cheap and effective layer of defense that runs automatically. Without it, critical vulnerabilities can reach production without anyone noticing.
Practical Checklist
- Add a vulnerability scan step after the image build in your CI pipeline
- Define a scan policy with clear thresholds (e.g., block on critical and high)
- Configure the pipeline to stop on policy violations
- Use multi-stage builds to reduce the attack surface of your images
- Schedule regular updates for your base images and dependencies
- Review scan reports periodically, even for passing builds
The Concrete Takeaway
A container image that has not been scanned is an unknown risk. Add vulnerability scanning to your pipeline today. Pick a tool, set a policy, and let automation catch the problems before they reach production. It takes a few minutes to set up and saves you from discovering a critical CVE after an attacker has already found it.