Building Android and iOS Apps in a CI Pipeline
You have a mobile app that compiles fine on your laptop. You push the code to the repository, the CI pipeline starts, and ten minutes later it fails with an error you have never seen before. The SDK version is different. A dependency resolved to a slightly newer release. The signing certificate is missing. This is the reality of mobile builds in CI: what works locally often breaks in a pipeline.
The first thing to get right in a mobile CI pipeline is the build process itself. Not just running the compiler, but producing an artifact that is consistent, testable, and ready for distribution. Android and iOS handle this differently, and each has its own pitfalls.
Android Builds with Gradle
Android builds run through Gradle, which reads configuration from build.gradle files. Three SDK settings matter here: compileSdk, minSdk, and targetSdk. They are easy to confuse, but each serves a distinct purpose.
compileSdk controls which API level is available during compilation. If you set it to 34, you can use APIs introduced in Android 14. minSdk is the lowest Android version your app supports. If you set it to 26, devices running Android 8.0 or older cannot install your app. targetSdk tells Android which version you have tested against. When you target a newer SDK, Android may apply behavioral changes that affect your app.
The pipeline must use the same SDK versions as your local development environment. A mismatch often causes compilation errors that only appear in CI. Pin these versions explicitly in your build.gradle files and verify them in the pipeline configuration.
Dependencies are another common source of trouble. Gradle pulls libraries from Maven Central, Google Maven, or your internal repository. Without caching, the pipeline downloads every dependency from scratch on each build. A project with twenty dependencies can spend ten to fifteen minutes just downloading. Cache the Gradle dependency directory between builds. Most CI platforms support this with a simple configuration change, and it cuts build time significantly.
The output of an Android build is either an APK or an AAB. APK is the older format that you can install directly on a device. AAB is the newer format that you upload to Google Play, which then generates optimized APKs for each device configuration. Use APK for internal testing and manual distribution. Use AAB for official releases through the Play Store. Your pipeline should support both, but the choice depends on where the artifact is going.
Here is a minimal GitHub Actions job that builds an Android app and stores the APK as an artifact:
name: Android Build
on: [push]
jobs:
  build:
    runs-on: ubuntu-latest
    steps:
      - uses: actions/checkout@v4
      - name: Set up JDK 17
        uses: actions/setup-java@v4
        with:
          distribution: 'temurin'
          java-version: '17'
      - name: Cache Gradle dependencies
        uses: actions/cache@v4
        with:
          path: ~/.gradle/caches
          key: ${{ runner.os }}-gradle-${{ hashFiles('**/*.gradle*') }}
          restore-keys: |
            ${{ runner.os }}-gradle-
      - name: Build release APK
        run: ./gradlew assembleRelease
      - name: Upload APK
        uses: actions/upload-artifact@v4
        with:
          name: app-release
          path: app/build/outputs/apk/release/*.apk
This example sets up JDK, enables Gradle caching, runs the release build, and uploads the resulting APK. Adjust the Java version and Gradle wrapper path to match your project.
iOS Builds with Xcode
iOS builds use Xcode and its build system. The pipeline runs xcodebuild with parameters that specify the scheme, configuration (Debug or Release), and destination (simulator or physical device). The project file is either .xcodeproj or .xcworkspace. If your project uses CocoaPods, you need the workspace file.
Dependency management is where iOS builds often break. Many iOS projects use CocoaPods, Swift Package Manager, or Carthage. The pipeline must run pod install or swift package resolve before building. If the versions resolved in CI differ from what your team uses locally, you get errors that are hard to debug. Lock your dependency versions. CocoaPods generates a Podfile.lock file. Commit it to the repository and ensure the pipeline uses it.
The output of an iOS build is an IPA file. Unlike an APK, an IPA is a bundle that contains the signed application. Pipelines typically produce two variants: a development IPA for internal testing with development certificates, and a distribution IPA for the App Store. Both need proper signing, which we will cover separately.
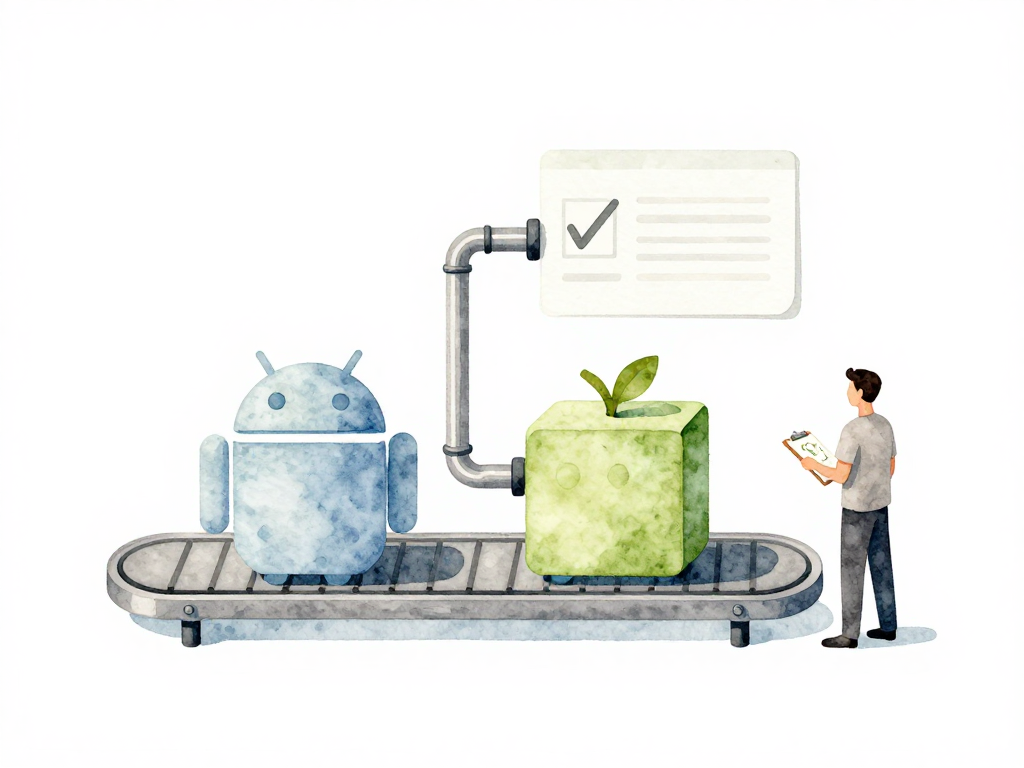
Storing Build Artifacts
Both Android and iOS builds produce artifacts that need to be stored. The simplest approach is to use the artifact storage built into your CI platform. For larger teams or more complex workflows, upload artifacts to a shared location like S3 or Google Cloud Storage.
The following diagram shows how the Android and iOS build pipelines run in parallel and converge at artifact storage.
Every artifact needs a clear identifier. Include the version number and build number in the filename or metadata. You should be able to trace any artifact back to the exact commit that produced it. Without this, debugging a production issue becomes guesswork.
Practical Checklist
Before you declare your mobile build pipeline ready, run through this short checklist:
- SDK versions in
build.gradlematch between local and CI environments - Gradle dependency caching is enabled
Podfile.lockor equivalent is committed and used in CI- Xcode scheme and configuration are explicitly set in the pipeline
- Artifact filenames include version and build number
- Build artifacts are stored and accessible after the pipeline finishes
The Takeaway
A mobile build pipeline is not just about running a compiler. It is about reproducing the same environment, the same dependencies, and the same configuration every single time. When your local build works but the pipeline fails, the problem is almost always a difference in one of these three things. Lock them down, cache aggressively, and name your artifacts clearly. The rest of the pipeline depends on getting this first step right.