What Happens After You Hit "Upload" in Google Play and App Store
You have a green build. All tests passed. The release branch is clean. Someone on the team says, "Okay, just upload it to the store and wait for review." If you have ever been through a real mobile release, you know that sentence hides a lot of complexity.
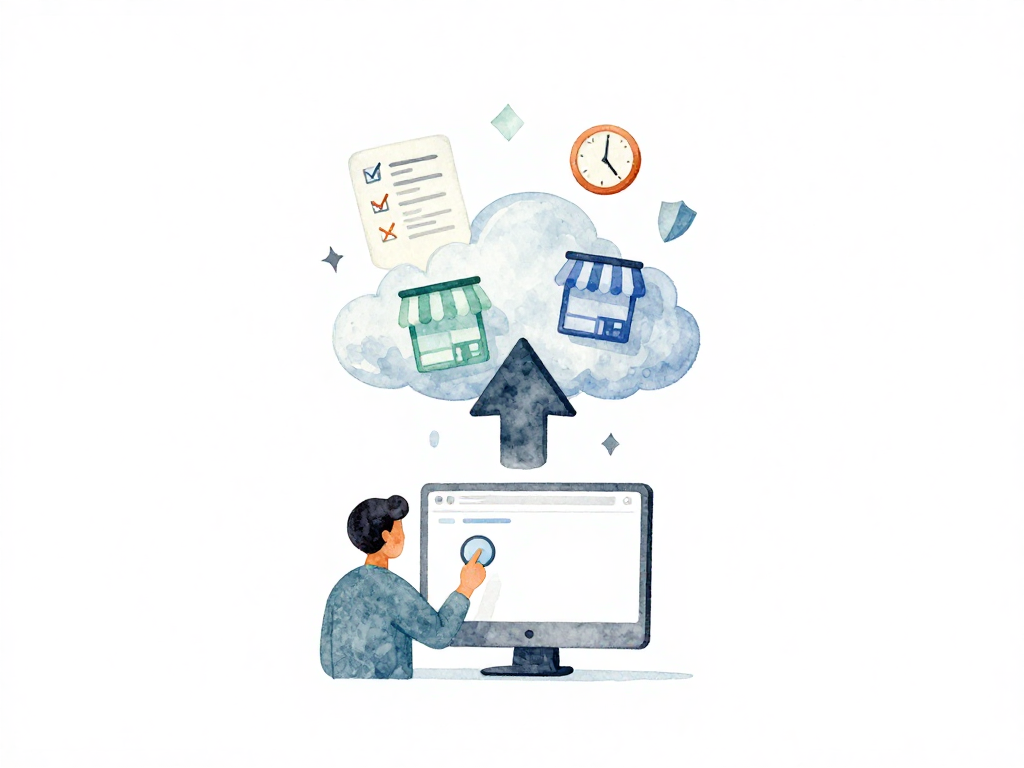
Uploading to Google Play Console or App Store Connect is not just sending a file. It is a multi-step process that involves metadata, screenshots, changelogs, review queues, and the very real possibility of rejection. And if your pipeline treats the upload as the final step, you are setting yourself up for a late-night panic when the review comes back with a rejection notice.
The Upload Is More Than a File Transfer
When you upload an Android App Bundle (AAB) or an iOS IPA file, the store expects more than just the binary. You also need to provide:
- App title and description for the new version
- What changed in this release (changelog)
- Screenshots for multiple device sizes
- App category and content rating updates
- Which countries or regions get the update
Both Google Play Console and App Store Connect expose APIs that let your pipeline handle all of this programmatically. Your CI/CD system can push the artifact, fill in the metadata, attach the right screenshots, and set the release track. For Android, you can upload to internal testing, closed testing, or open testing before even thinking about production. For iOS, you upload to TestFlight first.
The following sequence diagram illustrates the typical flow from pipeline to release:
For example, using fastlane supply on Android, you can upload the binary, set the changelog, and attach screenshots in one command:
# Upload AAB to Google Play internal test track
fastlane supply \
  --aab ./app/build/outputs/bundle/release/app-release.aab \
  --track internal \
  --metadata_path ./fastlane/metadata/android \
  --json_key ./path/to/service-account-key.json \
  --package_name com.example.myapp

# The metadata folder should contain:
#   metadata/android/en-US/title.txt
#   metadata/android/en-US/short_description.txt
#   metadata/android/en-US/full_description.txt
#   metadata/android/en-US/changelogs/1.txt (version code as filename)
#   metadata/android/en-US/images/phoneScreenshots/
The key insight here is that the upload step should not be the end of your pipeline. It should be the beginning of a controlled release process.
Why You Should Not Upload Directly to Production
It is tempting to build a pipeline that goes straight from "tests pass" to "published in the store." But mobile stores add a gate that does not exist in web or backend deployments: human review.
Apple reviews every app and update against the App Store Review Guidelines. Google also reviews submissions, though the process is generally faster and less strict. If your pipeline uploads directly to production and the review finds an issue, you have to fix it, re-upload, and wait again. That can push your release by days.
A better approach is to upload to a testing track first. On Android, you can use the internal test track. On iOS, you use TestFlight. This gives your team and a small group of testers a chance to try the actual store-bound build before it goes through public review. If something is wrong, you catch it early, fix it, and upload again without the pressure of a rejected production submission.
Metadata and Screenshots Must Match the Build
One of the most common reasons for rejection is a mismatch between what the app does and what the store listing says. If your new version adds a feature, but your screenshots still show the old interface, Apple or Google may reject it for being misleading.
Your pipeline can help here. Store the screenshots and metadata for each version alongside your code. When you trigger a release, the pipeline picks the correct assets based on the version number or release tag. This ensures that what you upload to the store matches what the binary actually contains.
For changelogs, keep them short and factual. Do not write "fixed bugs and improved performance" for every release. Users read these. More importantly, store reviewers read them too. If your changelog says "added dark mode" but the app does not have dark mode, that is a problem.
Plan for Review Time in Your Release Schedule
Mobile store reviews take time. Apple typically needs 24 to 48 hours for app updates, and longer for new apps. Google is usually faster, sometimes just a few hours, but there is always a queue. If you have a fixed release date, you need to upload early enough to account for review time plus potential re-submissions.
Do not assume the first review will pass. Even experienced teams get rejected for things like:
- Requesting permissions without explaining why
- Using private APIs
- Incomplete or incorrect metadata
- UI elements that do not match the screenshots
- Violations of store-specific policies (like Apple's rules around in-app purchases)
Build buffer time into your release plan. If you need the app live by Friday, aim to submit by Tuesday or Wednesday at the latest. That gives you room to fix issues and resubmit.
What Happens After Review Passes
Once the review approves your build, you enter the release phase. This is not an all-or-nothing decision. Both stores support staged rollouts.
On Android, you can use staged rollout to release the update to a percentage of users, like 10% or 25%. On iOS, you can use phased release, which gradually rolls out the update over several days. This lets you monitor crash rates, user feedback, and key metrics before expanding to everyone.
Your pipeline should support this. After the review passes, the pipeline can set the initial rollout percentage, wait for a monitoring period, and then increase the percentage or go to full release. If something goes wrong, you can halt the rollout without affecting all users.
Practical Checklist for Store Uploads
- Upload to an internal or closed testing track before submitting for public review
- Store metadata and screenshots in versioned directories alongside your code
- Use store APIs to automate metadata submission, not just the binary upload
- Include a changelog that accurately describes what changed in this version
- Plan for at least 48 hours of buffer time before your target release date
- Configure staged rollout or phased release as the default, not full release
- Have a rollback plan: know how to unpublish or revert to a previous version
The Takeaway
Uploading to a mobile store is not the finish line. It is the start of a process that includes review, potential rejection, staged rollout, and monitoring. If your pipeline treats the upload as the final step, you will keep getting surprised by rejections and delayed releases. Build the review process into your pipeline design, upload to testing tracks first, and always leave room for a second attempt. That is how you turn mobile releases from a stressful event into a routine operation.